Thursday, May 8, 2008
(If you haven't been following the story you'll need to read Part 1 and Part 2 first.)
I couldn’t wait till Saturday!
Emma, my 12 year old, was determined to go with me. (Sigh.) So we set off for Jerry’s house.
We knocked on the door and Jerry opened it. I could see that my friend was inside already.
Jerry took one look at both me and Emma standing there and said, “I see you brought reinforcements. You must be worried that I might be a dirty old man!”
He took us to the dining room where he had place a slab of drywall on his table as a workstation (!) and started pulling out tools and silver. And boxes of polished stones for Emma to play with. The first step was making the bezel. Using the fine silver, I got it into the right shape, soldered it, and then hammered the join to smooth it and stretch out the bezel to fit correctly.
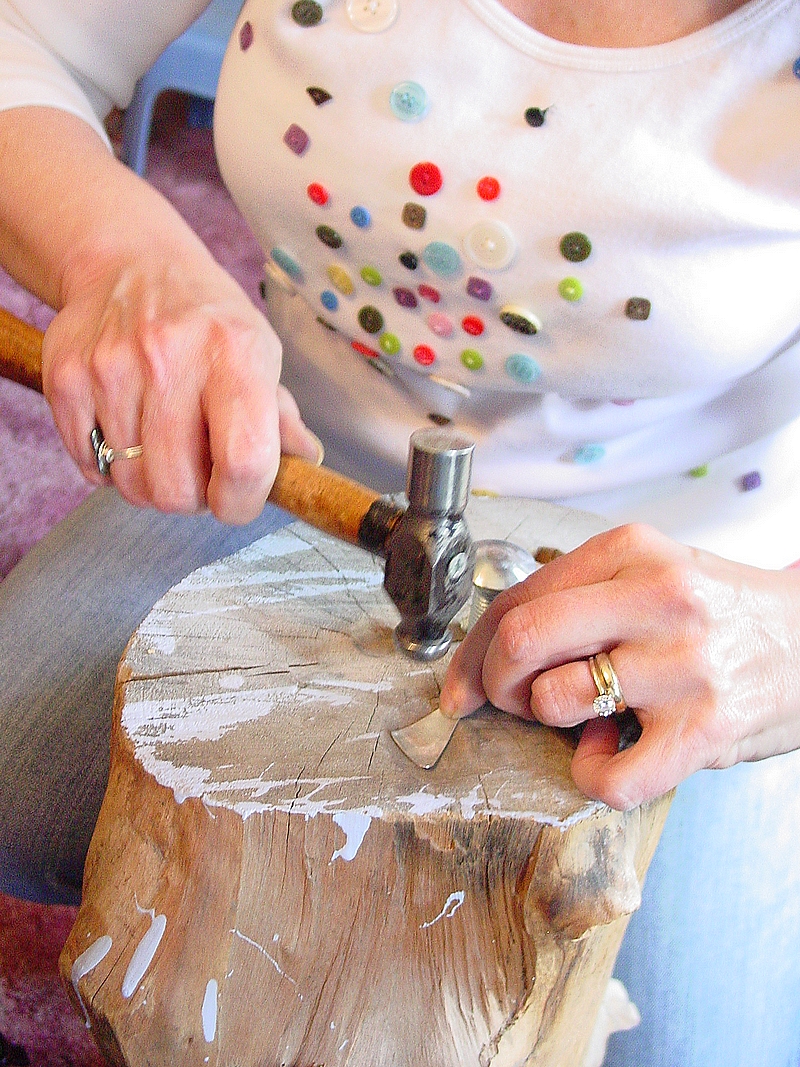
Then Jerry pulled out different gauges of silver sheet. We decided that 26 gauge silver would be similar to the earring, and he handed me a pair of scissors ($1.00 at Harbour Freight !) to cut the sheet to a matching shape. It was a little difficult to estimate because the model earring has rounded edges and I had to do some guesswork. Next I knew I would need to get the texture right and get the edges curved, so I asked if we were going to use a dapping block. No. Too elaborate I guess. Jerry goes to the corner of the dining room and pulls out a tree trunk with holes and circles drilled in it. He also had some bolts that he uses as punches!
It took me quite a while to get the silver shaped right. I was surprised that he suggested I use the round end of the ballpeen hammer. But it worked great and got the surface to look like the earring’s.
While I was doing this, Jerry was entertaining Emma by showing her how to use a propane torch to melt scraps of silver into little balls on a piece of blackened wood. She loved it. She took to it like – well, like her mother!
I finished the curved base. I’ve learned that the edges would have to match perfectly for the solder to hold, so one side of the bezel had to be filed to match the curve perfectly.
Soldering the bezel to the base wasn’t too bad. (Look! From the photo on the left you can see it's already starting to look like it's mate!) What was really a pain, was soldering on the earring post. I tried to melt the solder, then stick the post on, but it didn’t want to stay. And in the middle of it, I knocked the earring off the soldering stand and it fell on the floor!
That’s when I found out Jerry’s carpet was a synthetic. Even though I quickly grabbed the piece with tweezers (yes, I had the wherewithal to NOT pick it up with my fingers), the hot metal melted the carpet and I had dribbles of melted fibers firmly welded onto the silver!
Yes, I was embarrassed, but it didn’t seem to faze Jerry in the least. I guess any man who has a tree trunk in his dining room and solders on his dining room table, isn’t going to be concerned about keeping his carpeting spotless – or even intact! As you can see, it took both of us, a Third Hand, and a jar of marbles to finally get the post soldered in. Then I pickled the earring, cleaned it up, and put it in a tumbler for a final shine. (The melted carpet was still on the underside.) While it was tumbling, we had the treat of checking out his basement workshop.
It was exactly what you’d expect the basement of an old house to look like: a mess with boxes and boxes of rocks and junk. Which meant it was GREAT. We got to rummage through his rock boxes and he showed us molds that he was working on. Emma spent most of the time under his tables looking for scraps of silver and pewter so she could melt them in little balls with his torch.
Finally the tumbling time was up and it was time to set the stone. It fit! I finished it up with a bezel roller and burninsher, then oxidized it to match the other earring. Now my friend now had two earrings that matched.
We thanked Jerry and asked him how much we owed him for all of this. He said,” Oh, let’s see… three hours of instruction…silver…turquoise…how about...$20?” He saw that we were speechless and said, “What? Too much?”
Can you believe it!
He also asked if I needed any soldering equipment and sold me a soldering stand with a screen (home made) for $5. Then he gave me a hemostat and a magnesim block. Emma walked away with a polished piece of fossilized dinosaur doo and a big chunk of pewter that she had melted down from scraps she’d found.
What a great day!
I spent a lot of time that weekend ordering soldering equipment and supplies - I can't wait till it comes. And my friend was so happy that she now has her favorite set of earrings to wear again.
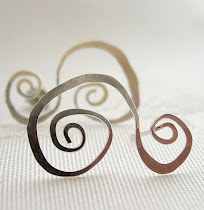
These is what we ended up with (before the final oxidation step). The original is the one on the right:
(If you'd be interesting in subscribing to my blog and receiving it by e-mail, just click Subscribe to Contrariwise ramblings by Email.)
8 Comments:
-
- MELANIE said...
May 8, 2008 at 10:59 AMGreat story!- Kellybot said...
May 8, 2008 at 11:17 AMWhoa! Good job!- High Desert Diva said...
May 8, 2008 at 11:26 AMFriggin' awesome!- Jo said...
May 8, 2008 at 5:12 PMWhat fantastic work! It sounds as though you all had a great time.- Jennifer said...
May 8, 2008 at 8:40 PMHey, that turned out great! And how awesome that he only charged you 20 bucks!! Sounds like you had a fun time doing this:)- industrialpoppy said...
May 8, 2008 at 11:57 PMFun story-just wait 'til you get all of the soldering supplies...it is so addictive that I hardly ever want to leave the house for my day job now :)- maoiliosa said...
May 9, 2008 at 10:25 AMWOW great job! they totally look like each other, as if the new piece was one of the originals! i am amazed at your skill :).- Anonymous said...
April 4, 2009 at 11:31 AMI love the texture on the silver! You did a great job. I was wandering if you knew the name of the metalsmith that originally made the earrings? I love the design. really inspiring work!


